



The previous article explained the history, rules and objectives of Wingsuit Performance Competitions. This second part looks at techniques for scoring well. One of the most important factors is to control the start of the dive so when you enter the first gate you are at the desired angle of attack and speed for a good score.
#STRATEGIES FOR COMPETITION
Having acted as a Meet Director, Judge, and Producer of several performance competitions, it’s always interesting to hear various competitors discuss – or discreetly refer to – their competition strategies. Given that various body types, wingsuit makes and models, and weight all play a role in the scoring for Time, Distance, and Speed, various strategies may be employed to help build the best overall score for the end of a round. A very tall, thin person will need to work very hard at speed, for example, while a short, stubby type of competitor will struggle matching the time component of the taller, thinner competitor.
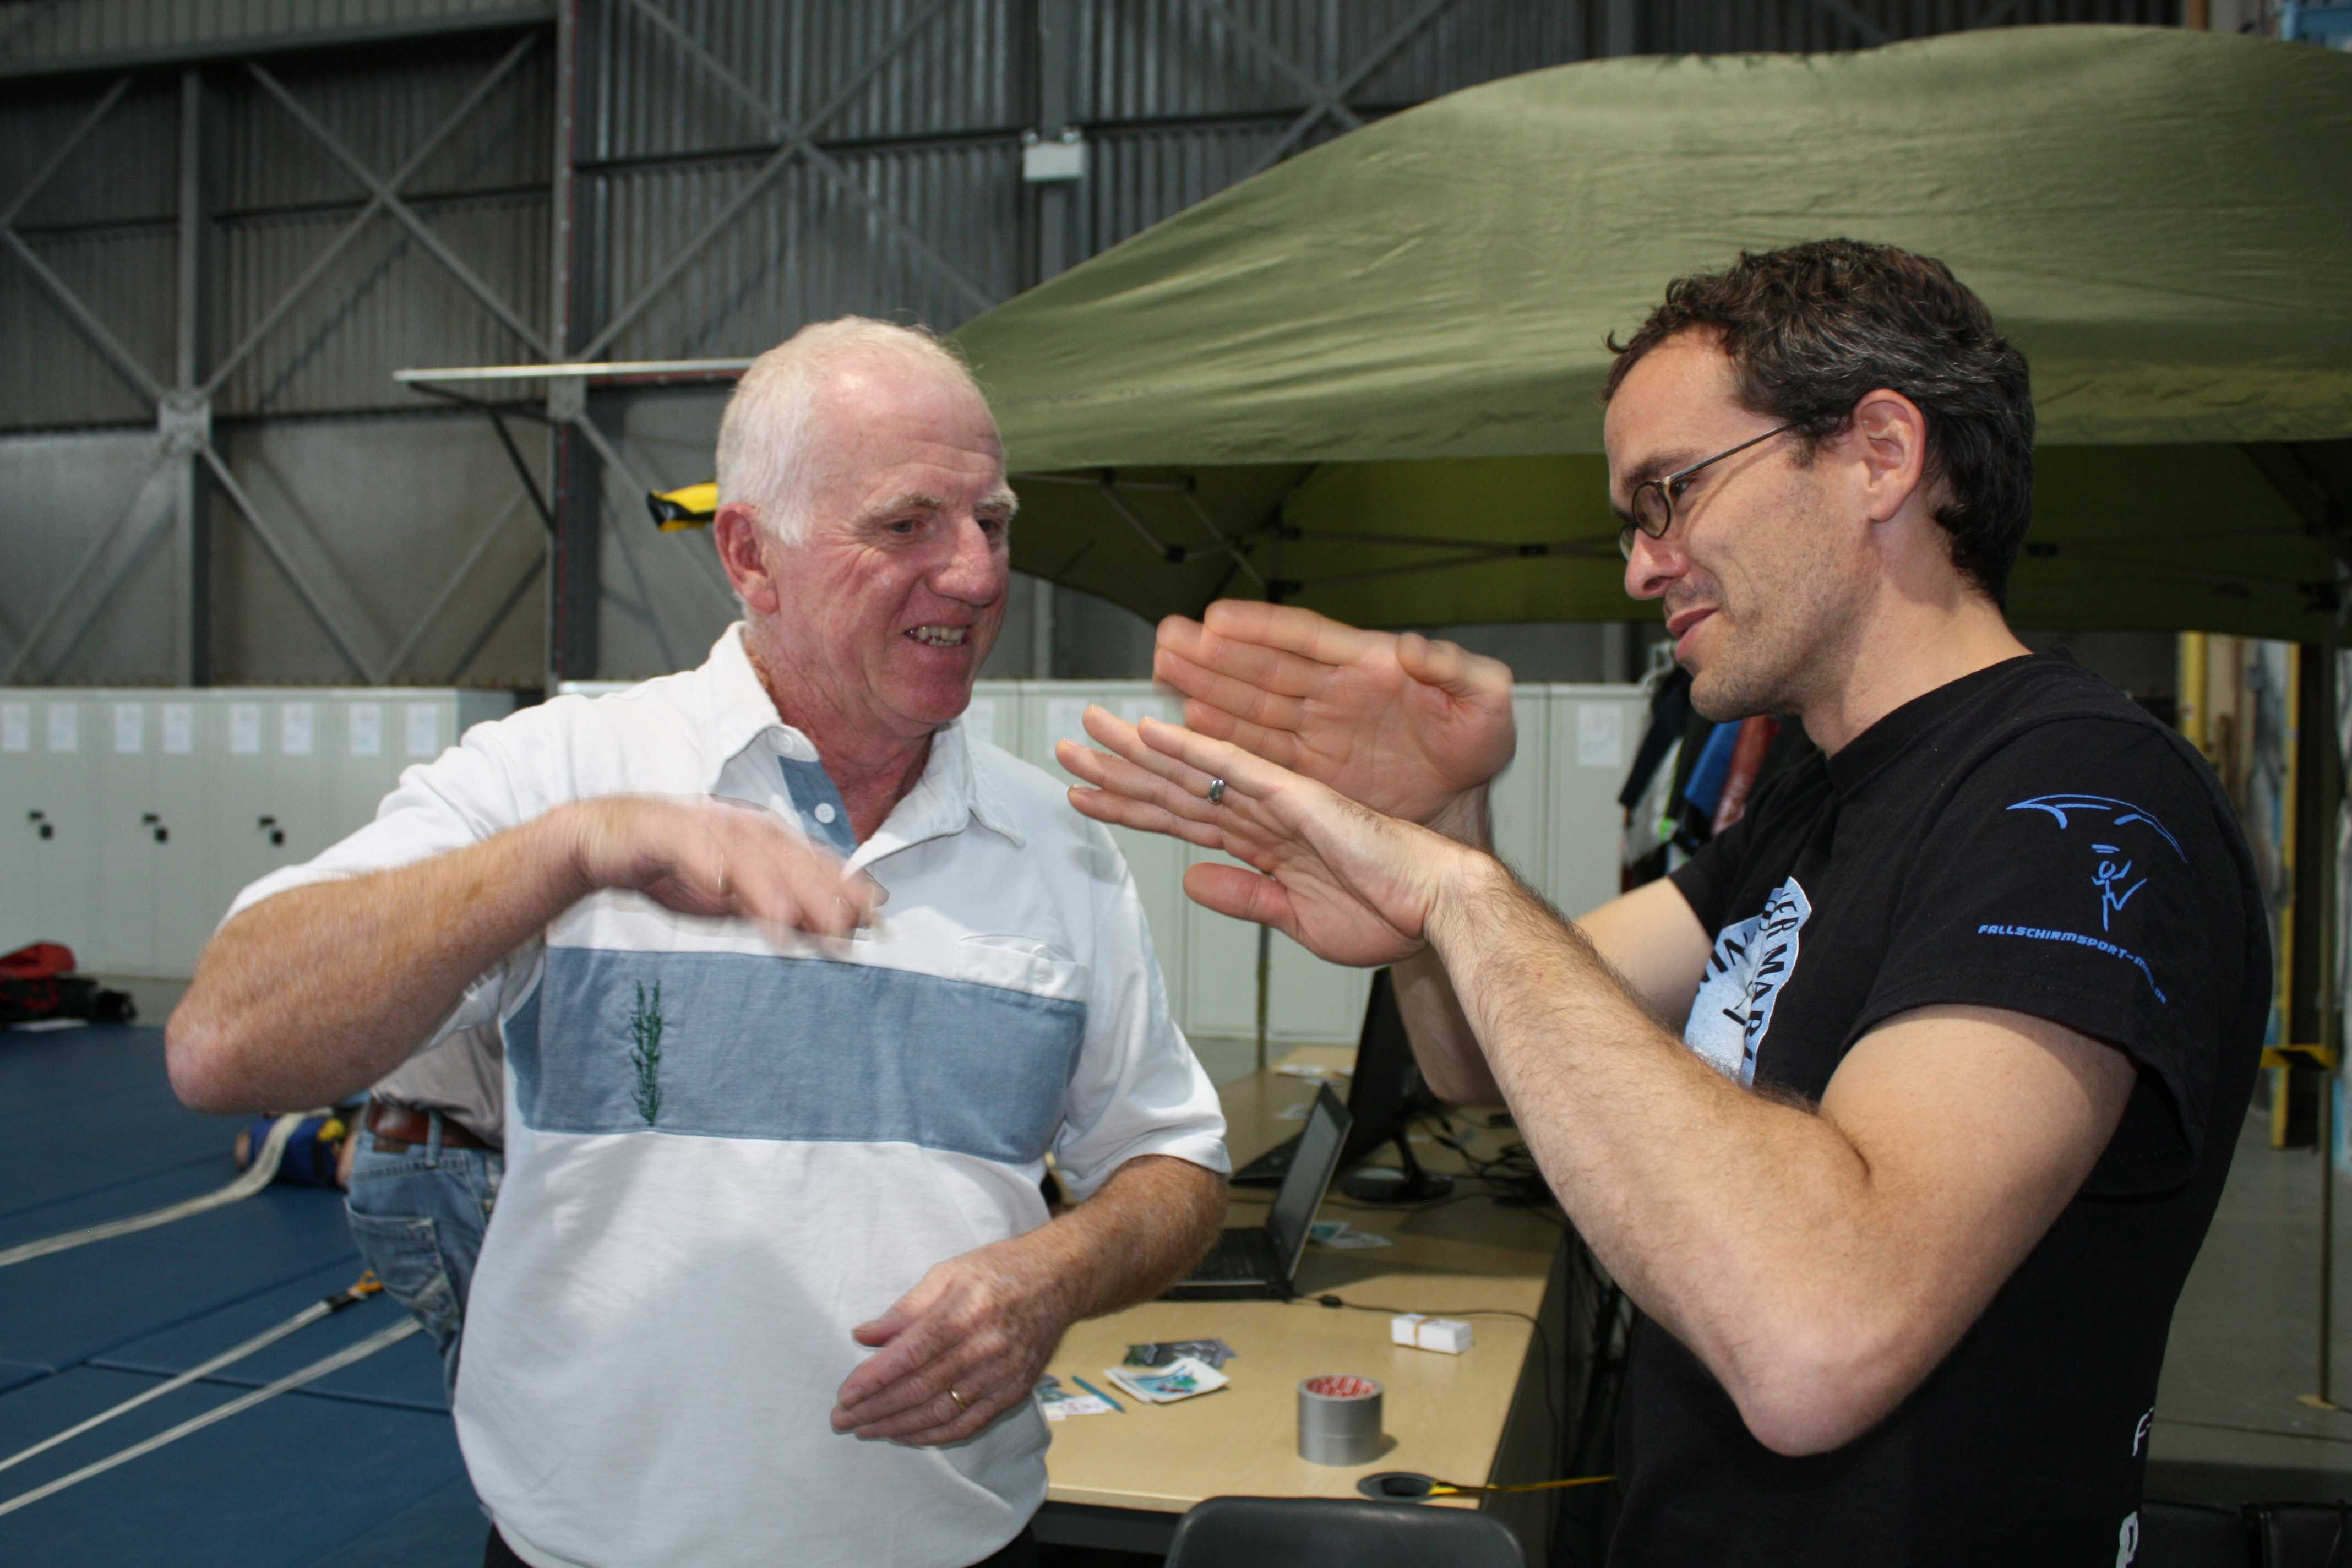
With this in mind Brian Caldwell offered up some tips on competition strategy. Brian “Lurch” Caldwell is a veteran of Performance competitions, having taken various podiums around the world in recent years.
#TIME TASK
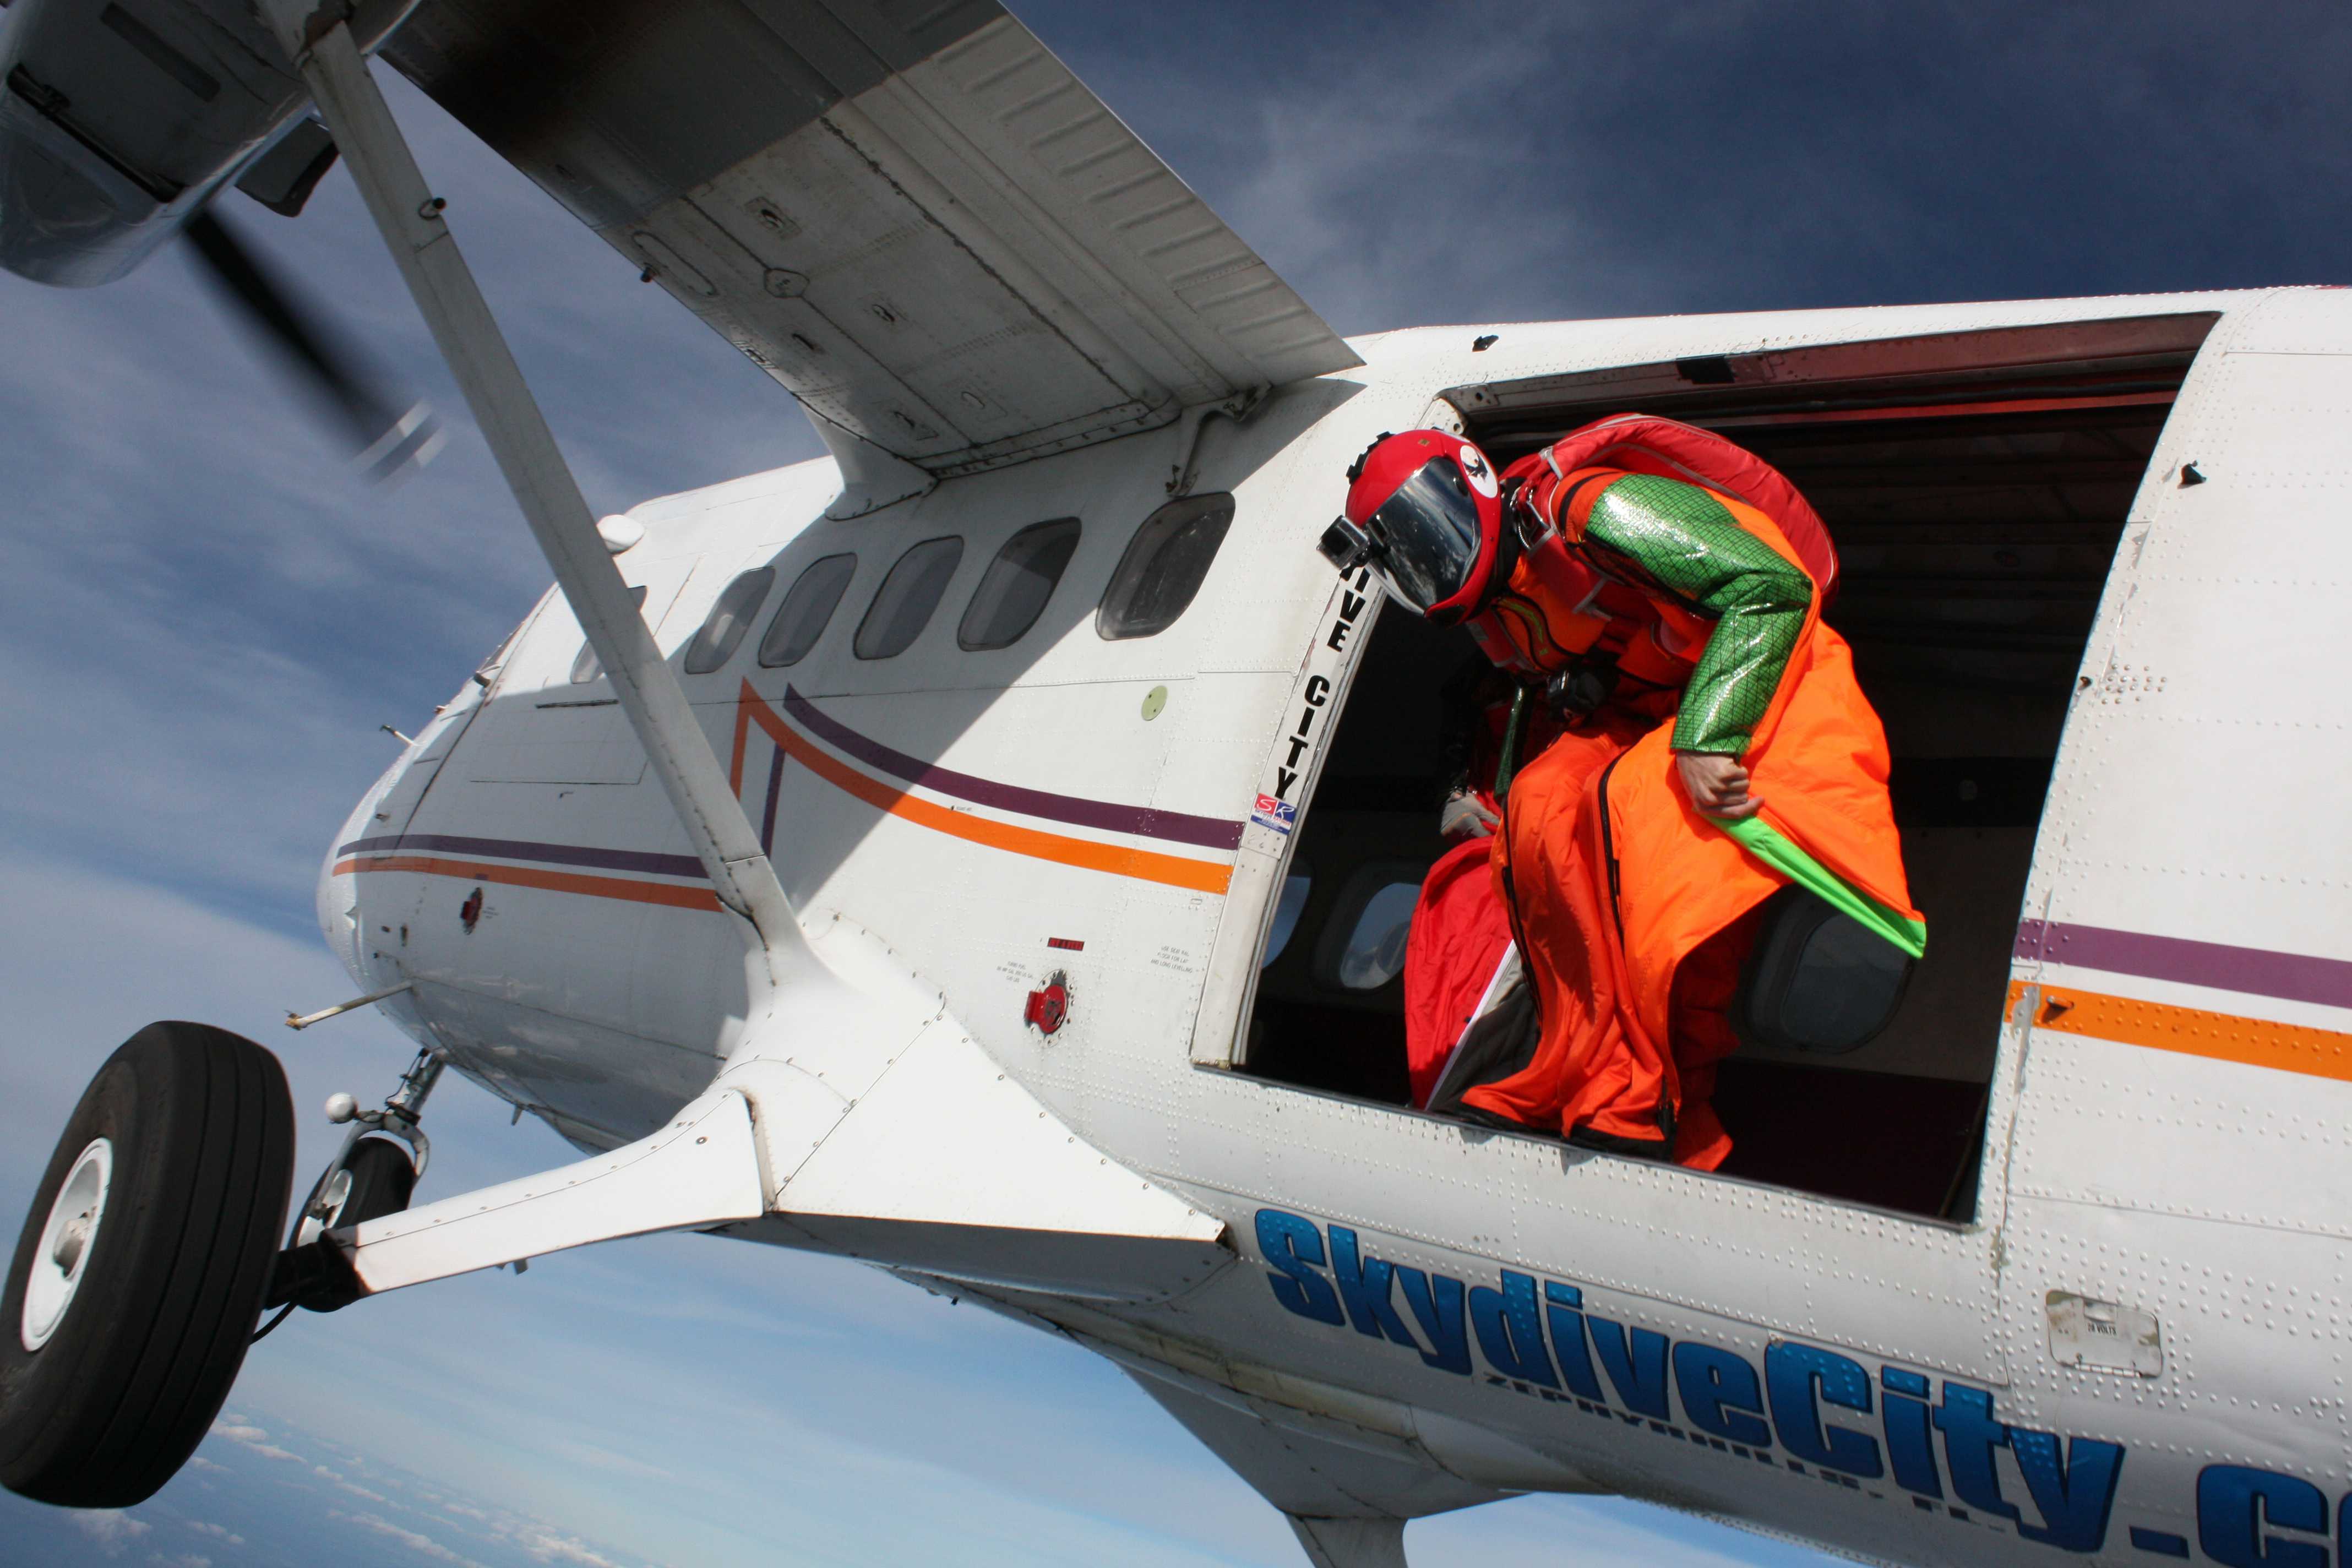
This category offers up advantages to lighter-weight competitors. This doesn’t mean heavy people can’t succeed. Exit the aircraft, (as always, with full attention to keeping all wings tightly shut for at least the first 2 to 3 seconds after exit to ensure aircraft clearance), set up proper heading and initiate a dive as before. During the setup dive, bring up the nose to a 45° AOA (Angle of Attack) almost immediately and maintain it.
##Entering the Gate
When your beeper goes off, HIT IT! Release any wing you may have been holding back in a dive, grasp your grippers (if equipped) spread your wings to their widest, flatten your shape and bear down on the wings. Ideally, you will be exactly halfway through this maneuver as the entry gate beeper goes off. Too soon, and you will already be burning off speed you could have converted into low fall rate before you’ve entered; too late and you’re still losing altitude rapidly and wasting time changing speeds when you should have already been floating.
##Spread Out
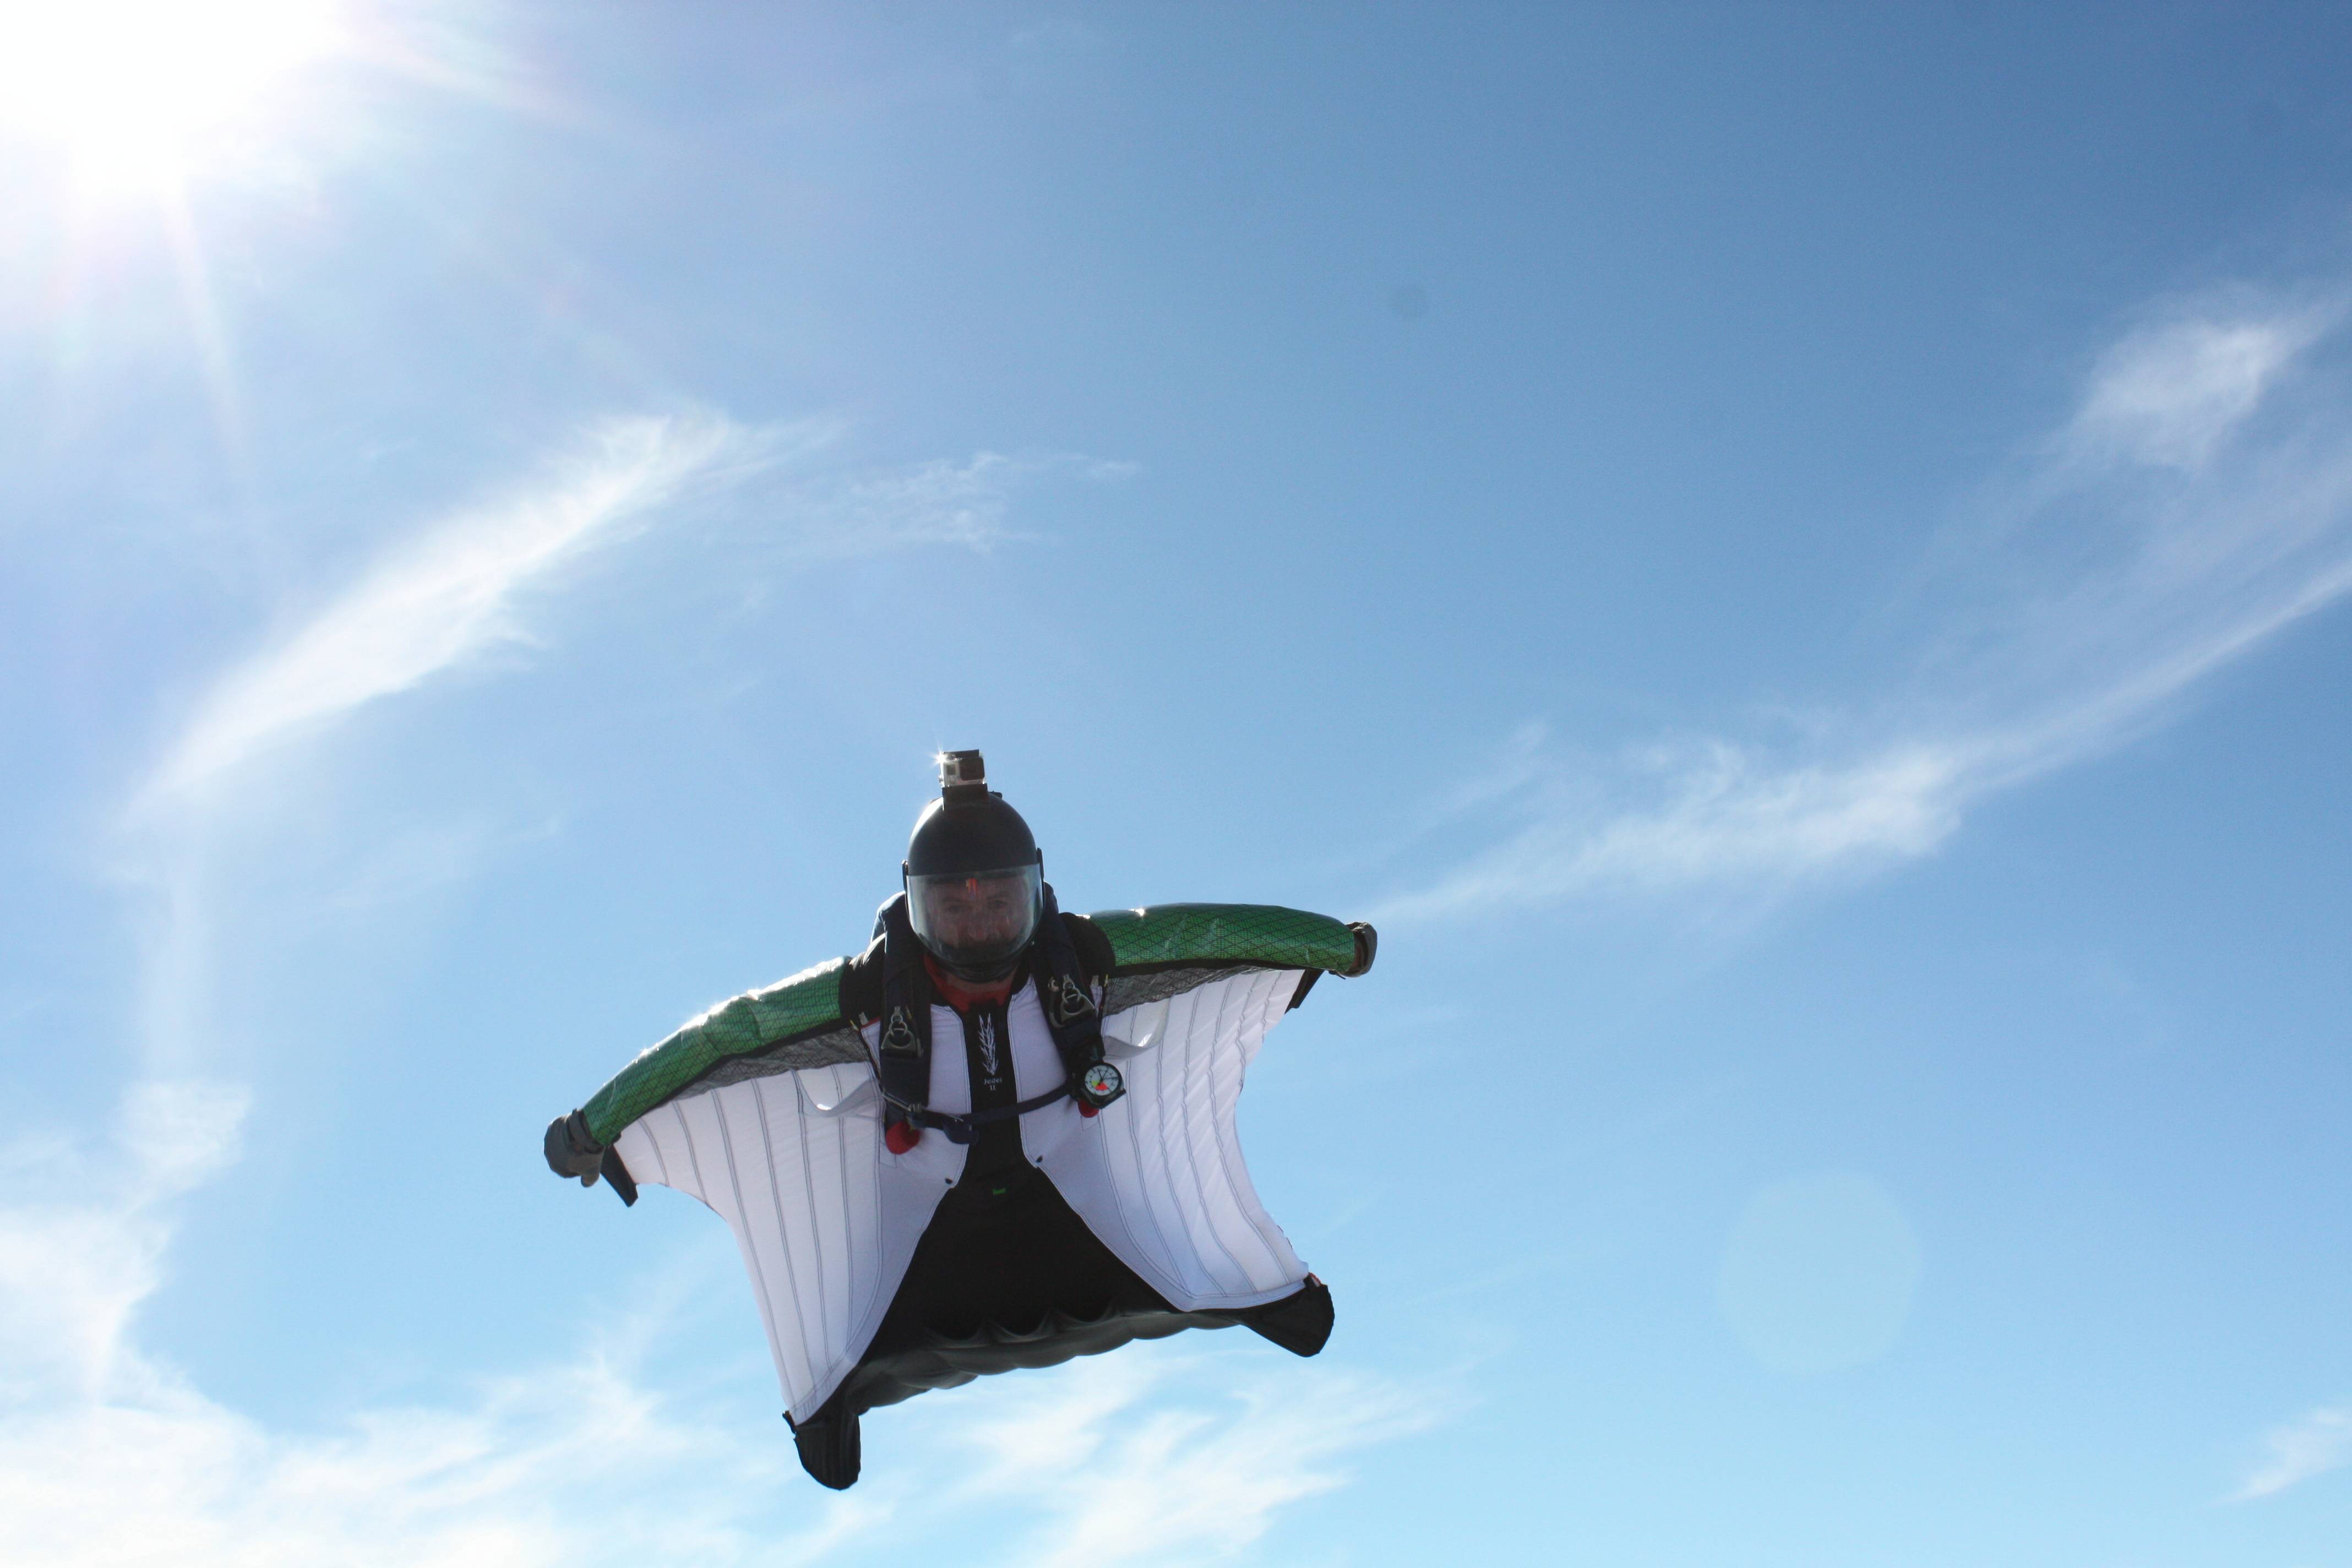
When the nose comes up and your plane-out is complete, bear down on the wings, dearch, use whatever technique produces the lowest fall rate in the suit you are flying. Flatten out as much as possible and relax. The effect you’re going for is a sensation like that of lying down on an air mattress. The idea is to distribute your weight evenly over as much of the wing’s surface area as possible.
The effect you’re going for is a sensation like that of lying down on an air mattress
Keep a light hand on the grippers. Fingertip grip is all that is needed. Many pilots focus on the grippers, bearing down on them as if they were load-bearing handlebars. This introduces high point loading on small areas of the wing, leaving much of the rest of the wing ineffective and unloaded. Focus instead on being as wide as possible and as flat as possible, keeping the head, neck and upper chest down.
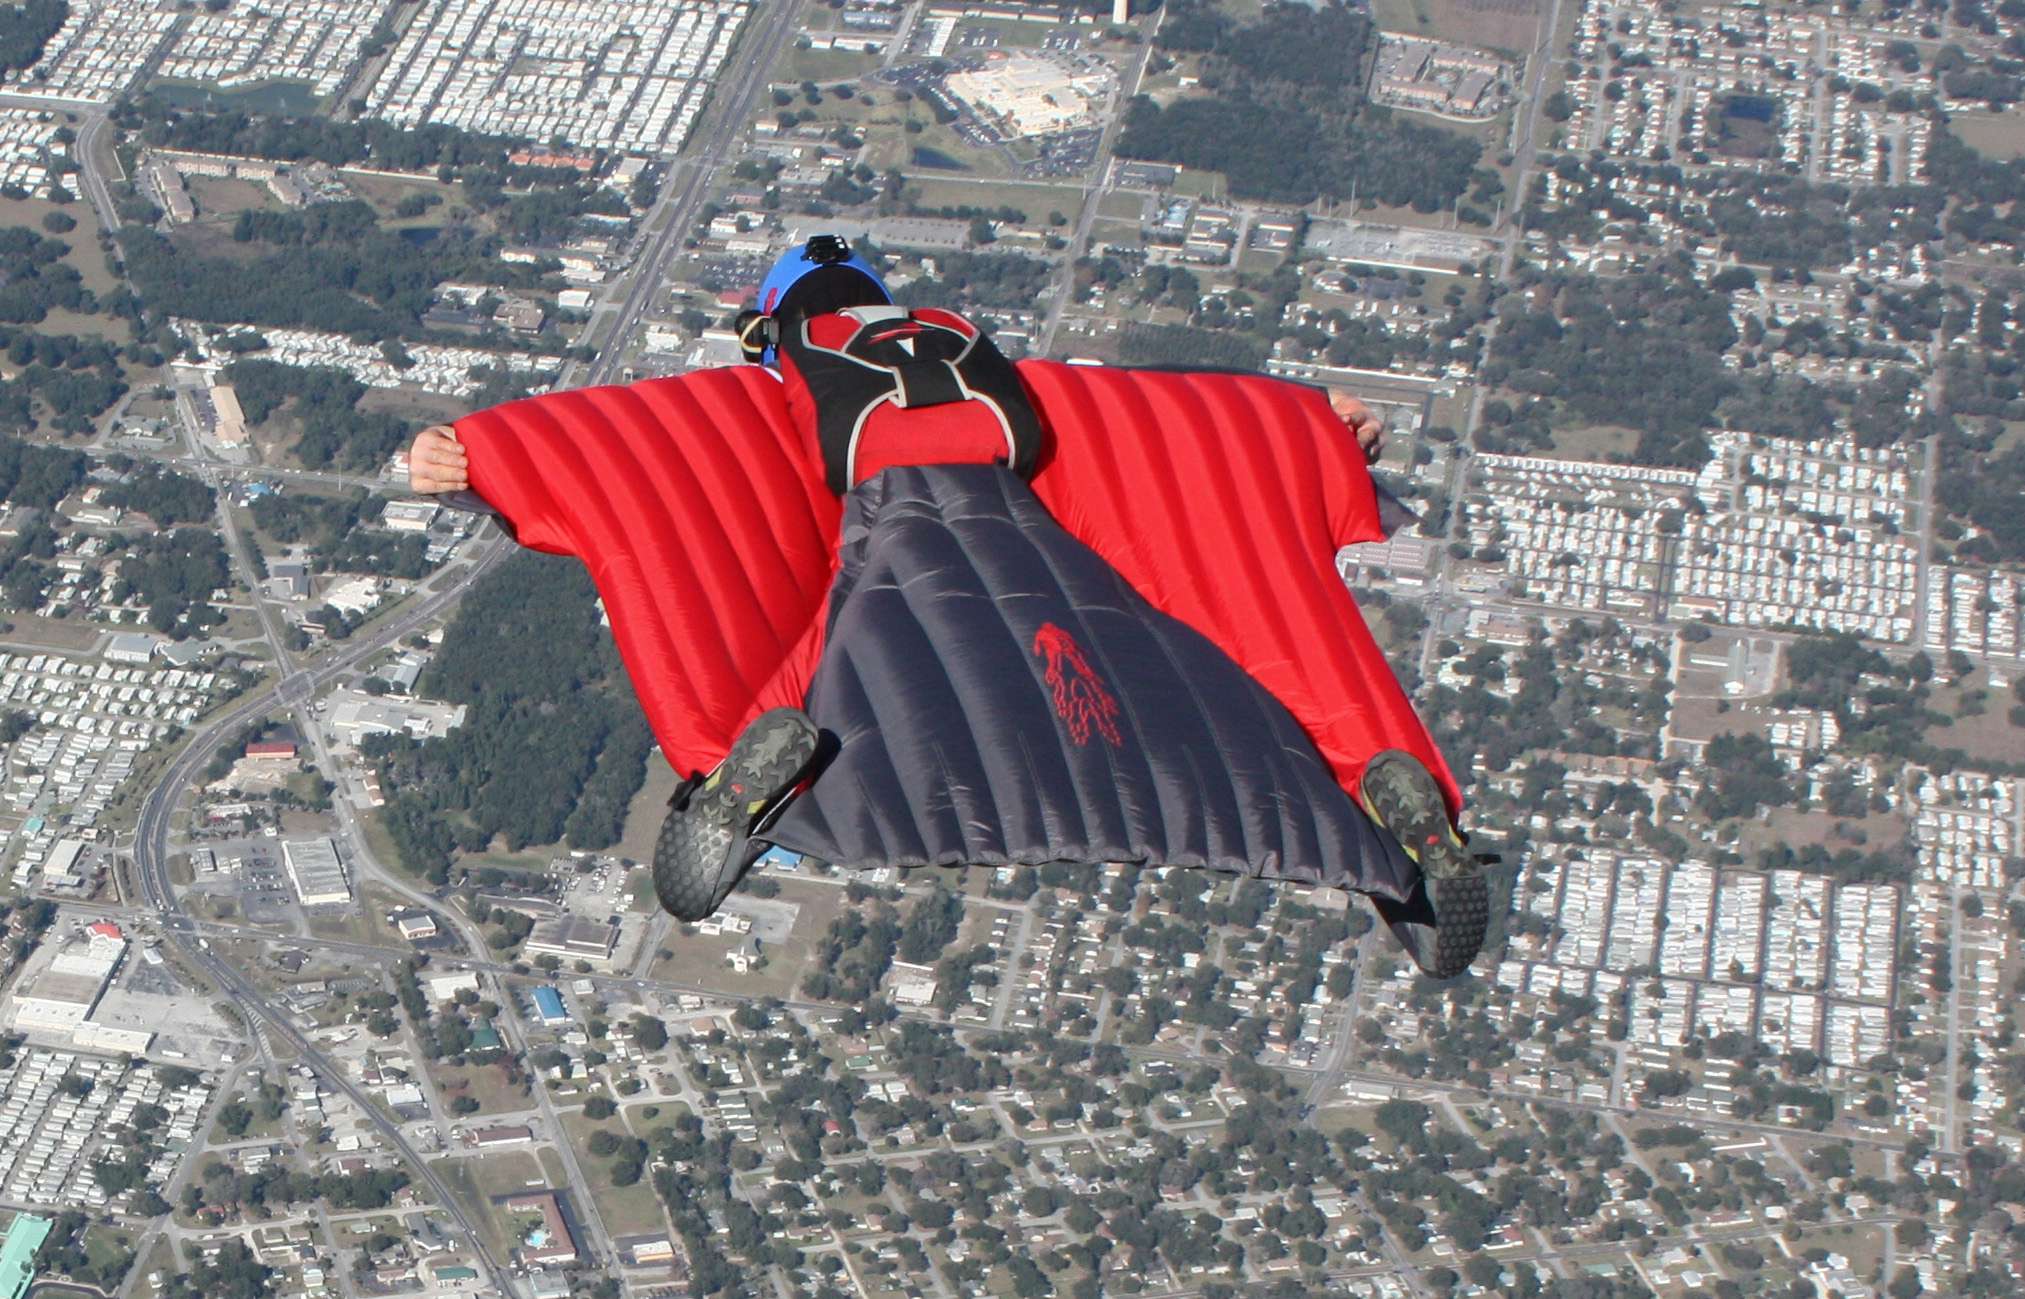
Consider wing pressurization. Many suits feature variable wing pressurization adjustable by winglock zippers inside the sleeves. Leaving them open renders the suit more flexible with a lighter, nimbler, more acrobatic feel, closing them makes the wing more rigid and supportive. It is commonly believed that “closed locks make the suit fly better”. This is not necessarily accurate.
When competing or seeking an additional performance edge, closed winglocks can become counterproductive. On some suits, particularly earlier Apache models, closed winglocks can create an over-inflation effect and an excessively thick wing profile, resulting in increased drag and decreased performance.
Leaving the suit depressurized increases the arm wingload on the pilot, but allows the airflow around the suit to compress the wing’s profile and reduces the drag. Combined with proper technique this change can be good for an additional three to five seconds’ flight time per thousand feet and an increase in available distance up to several hundred meters.
##Maintain Forward Speed
A perfect run would arrive at the gates at a high forward speed, produce an abnormally low fall rate for the first 5 to 15 seconds of the run with the extra speed and power in the plane-out, to ‘flare and fly up’, maintaining best static fall rate for the remainder of the run. Careful control is required – it is easy to burn off all set-up speed in one huge burst at the beginning, flaring the suit to a stall and dropping below minimum forward speed far too soon. So during the plane-out, once you have flattened out, keep the nose DOWN and restrain the suit from pitching up any further. Forward speed must be maintained.
##Final Push
In the last few seconds before gate exit, if you have any speed or additional ability to “max out” just a little further, feel free to push the suit to a near-stall since you’ve nothing left to lose, a last-second partial stall-burn can eke out another 2 to 4 seconds of useful hang time, since it does not matter if the suit starts to get slushy and sink out afterward. Once you pass the exit gate, you can relax. There will be plenty of time to recover your airspeed after the gate exit beeper goes off.
#DISTANCE TASK
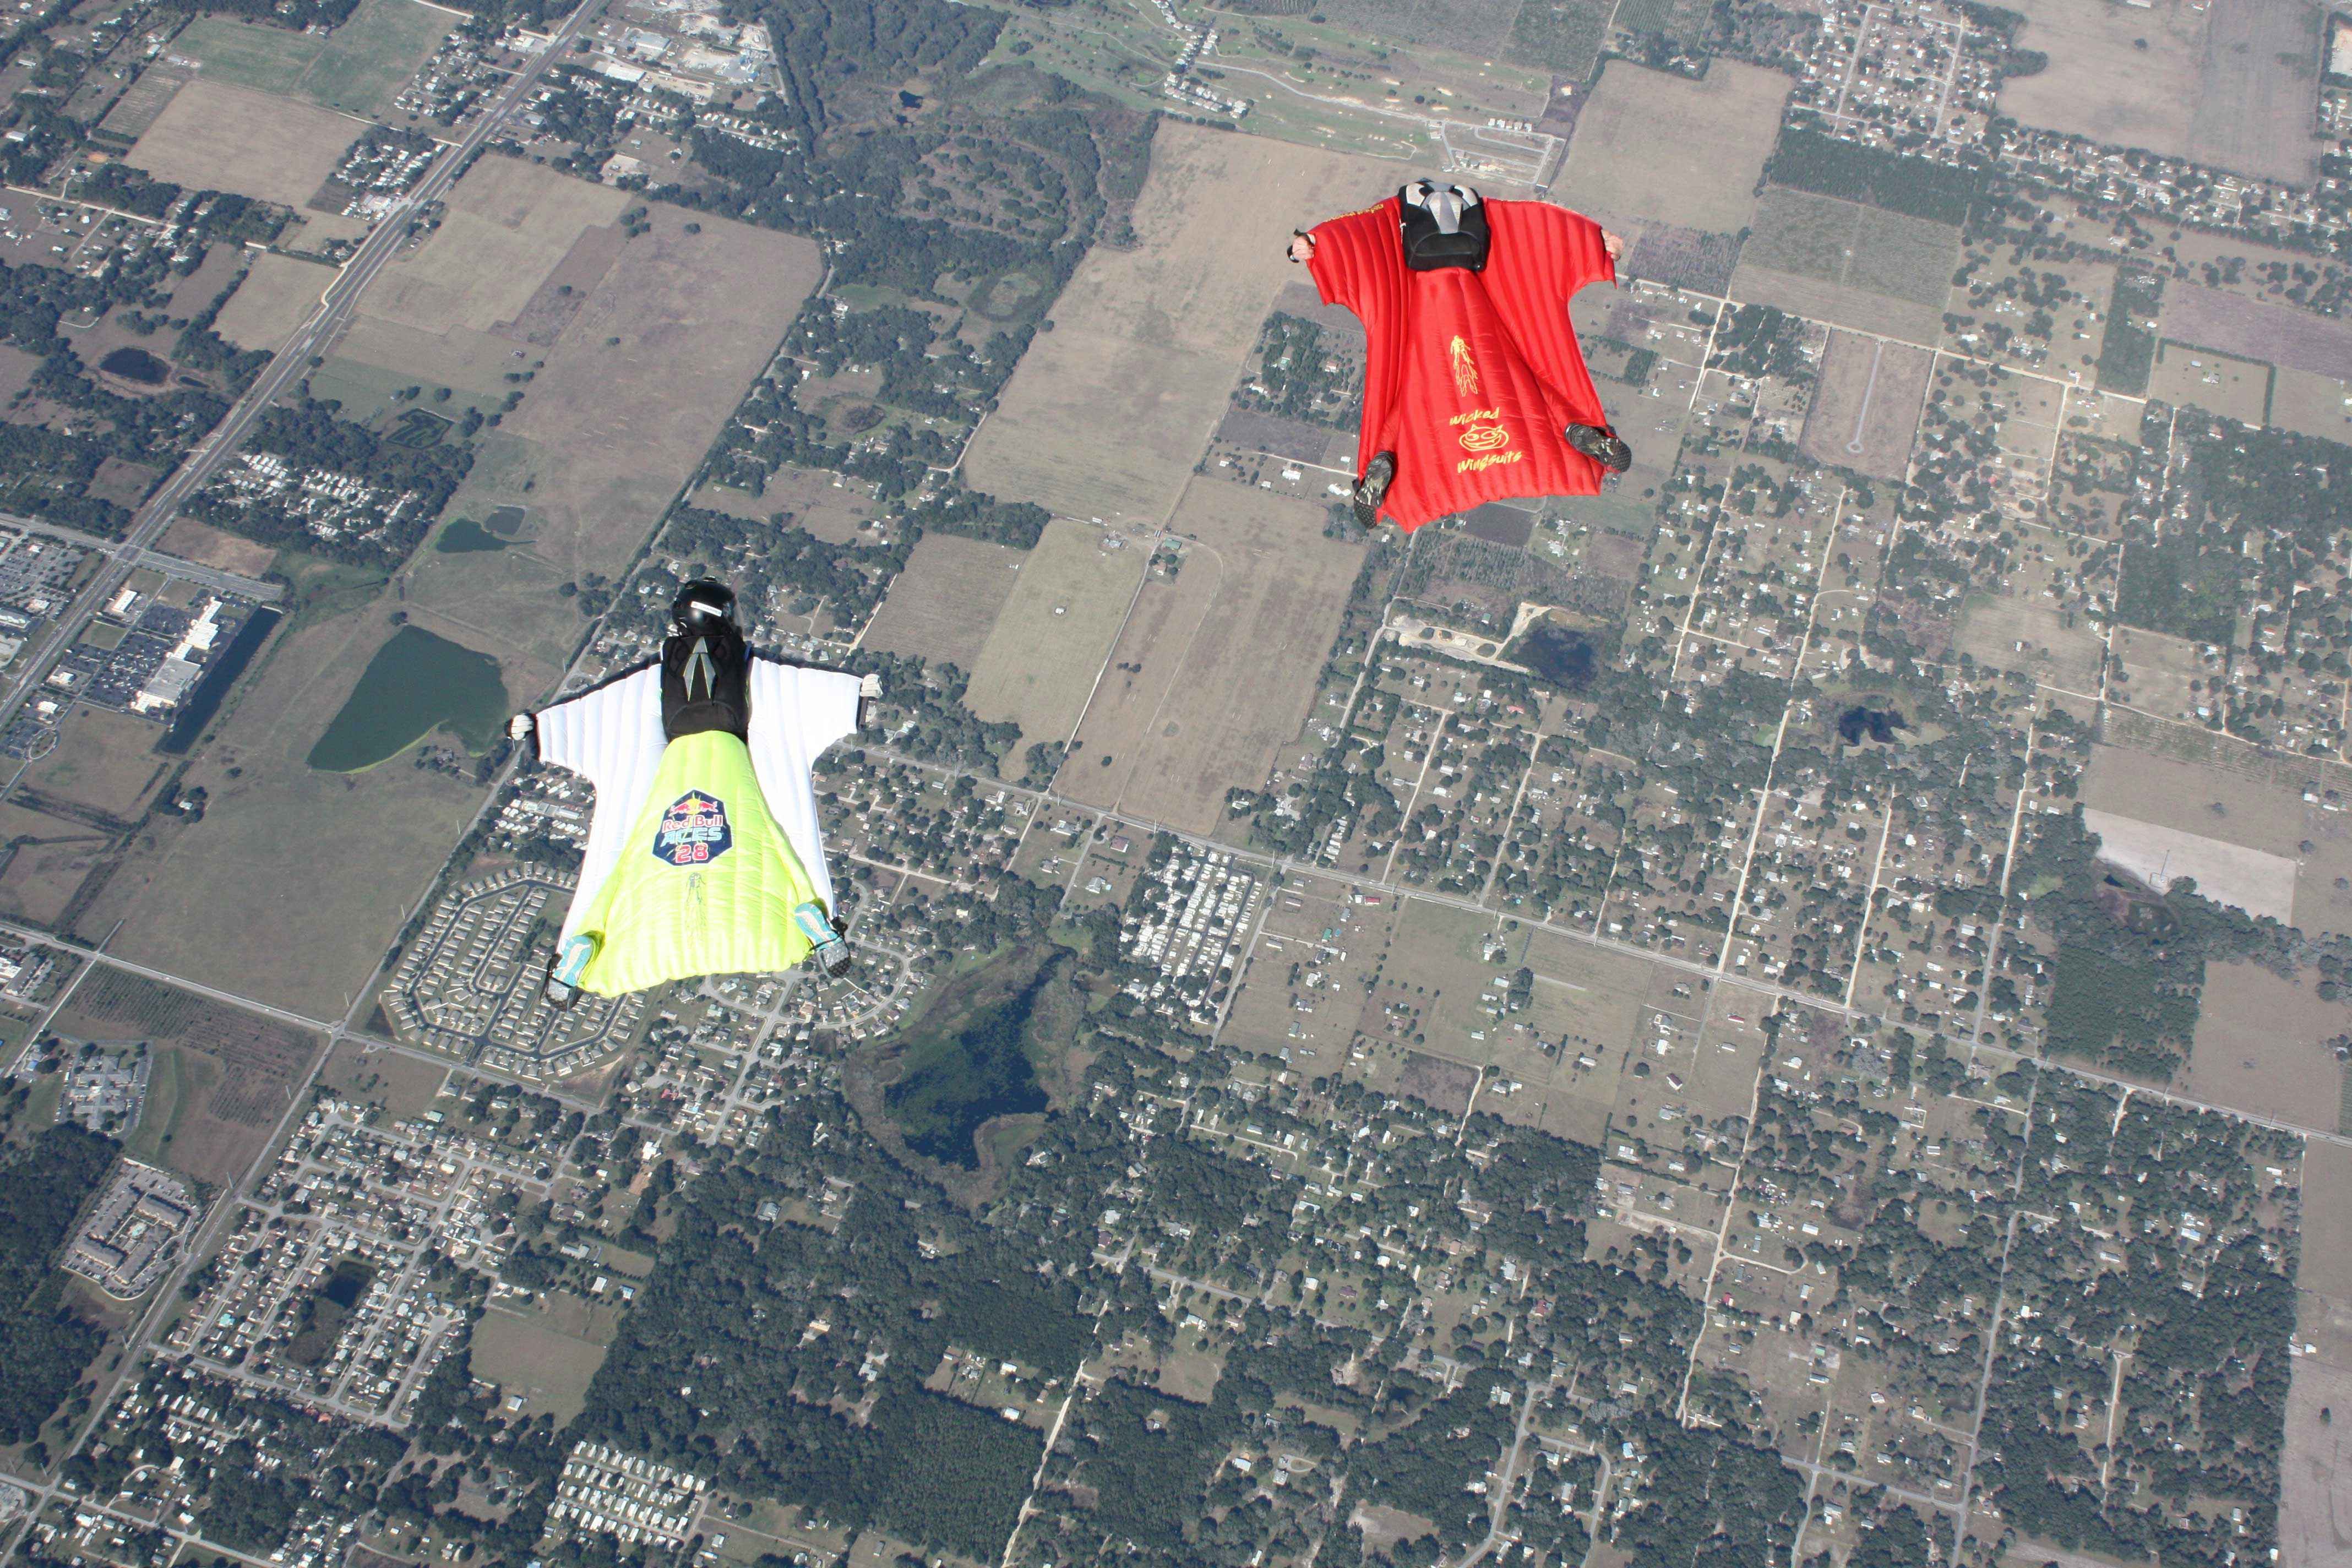
Most of the techniques used for flying for freefall time can be adapted to flying long distances. Flying for freefall time typically involves attempting to fly as slowly as possible while engaging as much of the suit’s wing area as possible with the body roughly flat and level to the horizon. Flying for distance also involves using as much surface area as possible but with the objective of maintaining the highest forward speeds reasonably achievable while still maintaining a relatively low fall rate.
Start off flying in a neutral, wide, flat, floaty and stable freefall time body position, then rotate nose-down about 15 degrees while continuing to bear down evenly on the entire wing area. Fall rate will increase some, forward speed will increase much more. Allowing the arm wings and shoulders to roll back can be helpful to establish the correct head-low angle, then roll as much dearch as possible back into the body position without bringing the nose up any. As the speed builds up, dynamic lift will become more and more of a factor and the fall rate will drop off again on its own.
##Listen to the Wind
When attempting to cover long distances, sustained forward speed maintenance is key. Pay attention to the intensity of the sound of the windblast. Prior experience with a wide range of freefall speeds, particularly freeflying, can be helpful here in establishing an auditory understanding of the range of speed employed. If the windblast is decreasing the pilot is decelerating to a slower, floatier flight mode more suited to prolonged freefall time. If the windblast is increasing to an intensity similar to that of headdown freeflying to the point of the onset of speed-induced buffeting of the wing, the pilot is too steep and is sacrificing distance for speed. If the windblast builds up to a moderately high intensity and then holds steady, a basic distance range has been set and can be fine tuned visually from there.
Pay attention to the intensity of the sound of the windblast
There is a certain familiarity of windblast you’re used to from normal, sustained flight and THAT, is the sound you’re looking for. Give it everything you’ve got for converting dive speed into forward speed, continue to max out till overall windblast starts to die off, then ease off and hold when the windblast sounds right, sounds sustainable, and stop there. Hold for the remainder. If it continues to die down, lower the nose a bit and try to regain some speed while sacrificing as little max-low fall rate as possible. With strong tailwinds, flying slower to stay in the window longer can help.
##Maintain Forward Speed
Forward speed maintenance is actually more important than fall rate maintenance so if the windblast keeps dying off, keep backing off till it stops, keep running headlong forward as hard as it takes to keep a steady state speed all the way to the end while keeping as much wing out as possible without inducing further slowdown. A last-second exhaustion-burn can be useful here.
The objective is to lean down into the airflow far enough to produce a moderately high forward speed, and then maintain that continuously for as long as possible. Focus on a terrain point approximately halfway to the horizon and fly toward that as a guide. The key difference in “feel” between flying for time and flying for distance is that the most effective positions for flying for time will resemble a “hugging a beach ball” sensation combined with a sense of “lying down on an air mattress” and relaxing, while the sensations of flying for distance are faster, steeper, with more of a sense of leading with the face toward a far away point.
There is a technique known as “The Accuracy Trick” commonly taught as a method of judging the available distances a canopy can reach. This trick can be applied to wingsuit flight on a scale of miles and can be used to visually fine tune and optimize your range. [note from book author Douglas Spotted Eagle: Hitting a glide ratio of 1:1.4 is roughly 30° below the horizon, and is a good visual reference point.]
#SPEED TASK
Speed is the easiest and the least complex technically in most ways, but requires familiarity with flying wingsuits either very steeply in a dive or almost fully head-down. Nobody cares how far or long, just that you be travelling fast horizontally through the gates; the faster the better. So the idea is, you can sacrifice altitude like mad, just use it to go forward as fast as you can. Horizontal speed, by any means necessary is what matters. Get going as fast as possible and hold it till gate exit.
The idea is, you can sacrifice altitude like mad, just use it to go forward as fast as you can
Wind speed and direction heavily influence the outcome here, and sometimes an event will be run with one upwind run and one downwind run with the results averaged out to compensate.
For this category, best bet is to go for an angle as close to 45 degrees as you can get. If you fly shallower than 45 degrees, your speed is going to bleed off as you’re going through the gates, if you fly steeper you may maintain your speed but you’ll not be travelling quite as fast as you could be and your top speed will suffer. There is no need for restraint or holding back for any reason as there is with other categories – give it everything you’ve got, all at once, and hold it. Light pilots are at a disadvantage here and may need to resort to various techniques for minimizing their drag, (small suits, rolled up grippers and narrow wingspan, freefly techniques, etc) Heavier pilots tend to dominate more easily but good technique can compensate for a lack of mass more effectively than you might think, and surprisingly high scores by mediumweight pilots are often seen. A light to medium pilot flying tucked and streamlined can still outrun a heavy pilot with rough and draggy technique.
##The Start
Start off with a hard dive, as close to head-down as you dare to get for maybe 3 to 4 seconds. This depends on the conditions of the event. For some international events there is a 3,000 feet run-up from 13,000 feet. The US Performance Cup exits at 11,000ft, shortening the setup time to 1,000 feet. It removes a good deal of the finer art in setup and simplifies the results somewhat but it does give newer competitors a somewhat better chance against experienced veterans. A 3,000 foot setup is enough for an experienced pilot to set up and adjust a technical attack a newer pilot cannot match. Shortening the setup window does not eliminate this, but it limits the amount of time in which senior pilots can refine their technique before the gates. It does not give the newer pilots a “head start” so much as it cuts down on the “head start” built in that the senior pilots will know how to take advantage of.
So get out, set your heading by the rules of the event, and then dive, dive, dive. You need to be streamlined and low drag, but with enough wing out to take advantage of the dive and use that airflow for forward thrust. Beginning perhaps 2 to 3 seconds into the gate, bring up the nose a little, start pointing your face in the run direction but keep diving hard. The key is to be accelerating as hard as possible at all times, and as quickly as possible once clear of the aircraft and set on lane heading.
##Entering the Gate
Try to use roughly half of the approach time for building up vertical speed, then turn your concentration to forward movement, begin pushing harder and harder in the run direction, begin building up forward speed, use the remainder to convert the fallrate you’ve accumulated into as much forward speed as possible. You should still be accelerating when you hit the gates for the US Performance Cup, other events you will have had time to hit whatever your terminal velocity is.

When the beeper goes off indicating imminent gate entry, bring the nose up just far enough to evenly divide your angle of attack so that it is as much forward as it is downward, and hold. Fine tune the run by windblast- if it begins to die down, you’ve brought the nose up way too far and you are losing speed, push the nose down and keep driving hard. [note from book author Douglas Spotted Eagle: Ideal glide ratio is 1:1.4, or 1:1.41 (Square Root of 2) to be exact in no wind conditions.]
Previous article on competition format
Articles adapted from Douglas Spotted Eagle’s forthcoming book, ‘WINGSUIT!’, available soon on Amazon
Look out for the Safety article, to follow.