
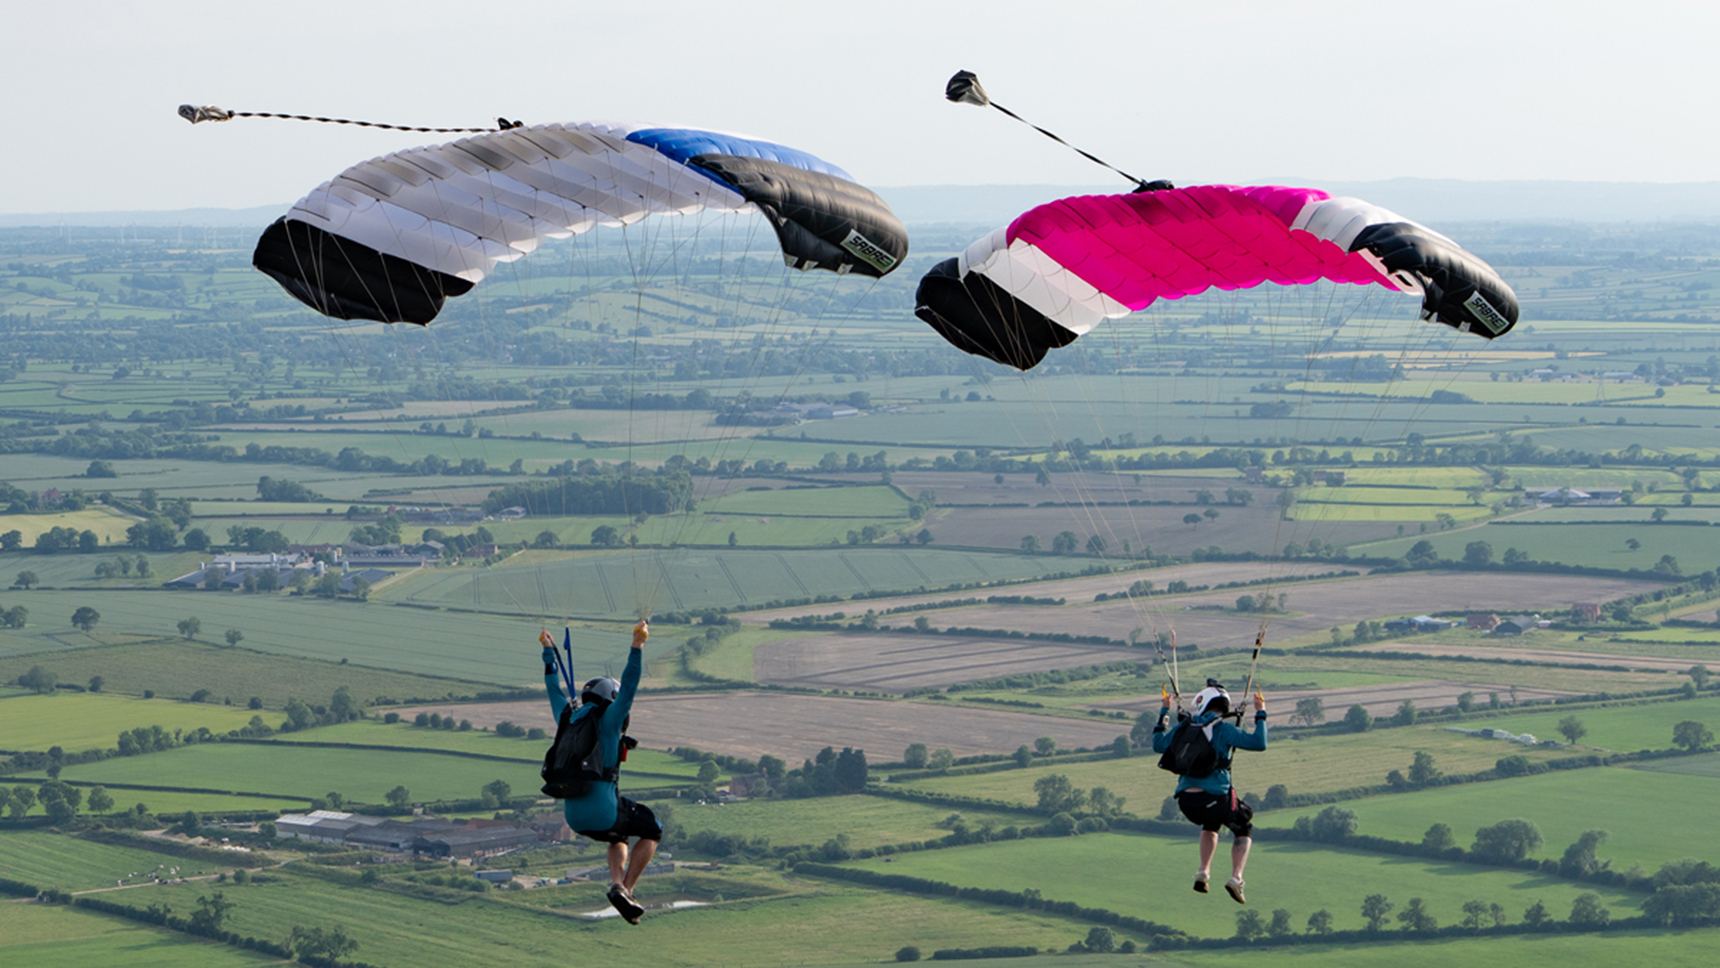





Different conditions call for different canopy inputs. Rich Madeley with tips on what to use, when and why.
No matter where you jump in the world, sooner or later you’ll find yourself under canopy in situations that demand different techniques and inputs to make it down safely.
Following on from my teammate Pete Lubrano’s article “You’re Long. Now What” (if you haven’t read that yet, you really should, it’s great), this builds on those techniques and looks at how to apply them in a few common scenarios.
Some situations you might find yourself in
- You’re far from the landing area with the wind at your back
- You’re far from the landing area flying into wind
- You’re far from the landing area with no wind
- You’re flying your canopy in turbulent air
And the final boss: you’re far from the landing area, in turbulence, with no idea what the wind is doing (I’m panicking just writing that one).
Pete’s article explains that to make it back from a long spot, you need to improve your glide ratio regardless of wind direction. The wind (and your experience level) then determines how you do that.
Before we get into it. This isn’t the be-all and end-all. These are simplified approaches to help build your understanding. If you’re unsure, please seek out proper canopy coaching from a reputable source.

Photo by Tex
Getting Back
Wind at your back
½ to ¾ brakes and a small body are highly effective. Rear Risers and small body are your best bet only if you have practiced rear riser inputs before. Gaining the most efficient glide ratio is key. Whether it’s using toggles or rear risers, glide ratio is the goal. Reducing your descent rate while keeping drag low, letting the wind do the work and carry you back.
Into wind
Rear risers and a small body position. The goal here is to maintain as much forward speed as possible without introducing extra drag. Cutting through the wind efficiently.
No wind
Same rules as into wind. Maximize forward speed while keeping descent rate low. With no wind to help or hurt you, efficiency is everything. Rear risers and a small body position give you that.
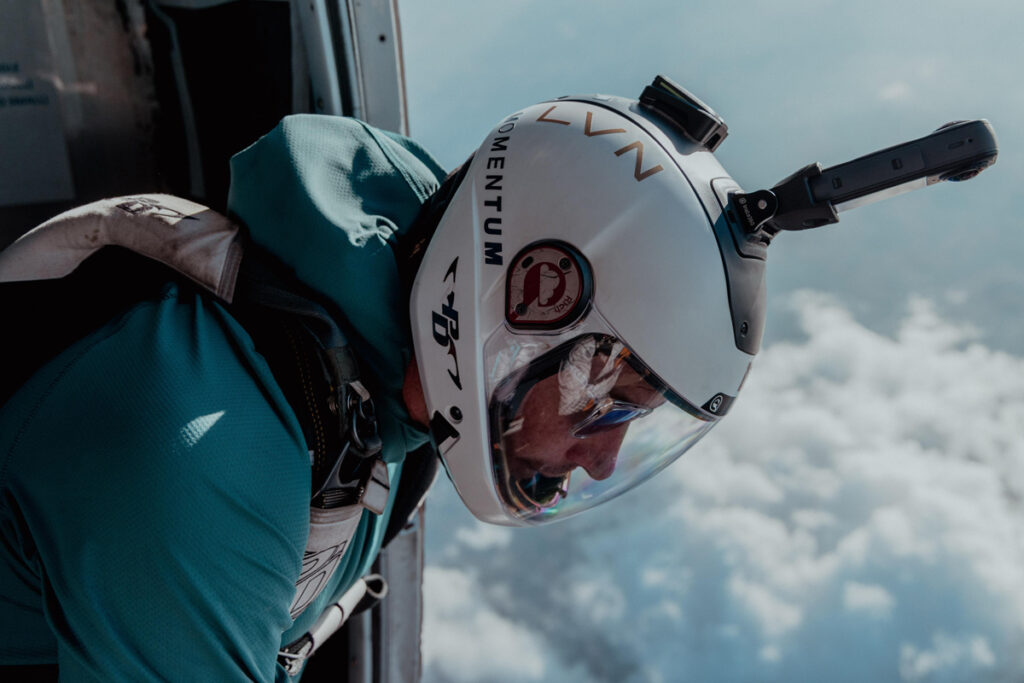
Photo courtesy of Rich Madeley
Flying in Turbulence
By now, you probably have a good idea where turbulence shows up. Trees, buildings, terrain, hot days. It’s worth understanding why it matters. Abrupt changes in wind speed or direction can reduce canopy pressurization leading to a loss of lift, speed, and in extreme cases, a stall or partial collapse.
A few key points:
- Full flight = maximum pressurization.
If you know you’re entering turbulent air, fly hands up, full flight. A pressurized wing is a stable wing. - Commit to your input.
If you’re already in brakes and hit turbulence, don’t suddenly go to full flight. That transition briefly reduces pressurization and can make things worse. Stay calm, hold what you’ve got, and ride it out.
- Turning in turbulence
If you need to turn in turbulence, especially when flying in brakes, use a harness or flat turn and keep your brake inputs as even as possible. This helps maintain pressurization evenly across the wing.
Overall, don’t panic. I feel like turbulence is like a T-Rex (bear with me). If I’ve learnt anything from the Jurassic Park movies it’s that if you stay perfectly still, a T-Rex can’t see you and will just move on. I treat turbulence the same, when it appears and starts bouncing you around, try not to react, no sudden movements and it will all be over soon enough.
If you take anything away from my ramblings, I would like it to be that if you are trying to make it back to the landing area from far away, maximising your glide ratio and reducing your drag is the goal. Different conditions will determine what technique you use to achieve this (experience and coaching will help you figure that part out). If you’re tackling turbulence, you need to keep the wing as pressurised as possible during the entirety of the experience. Keeping movement as little as possible without sacrificing your landing priorates.
Be safe out there!
For Rich’s take on setting skydiving goals, read his article here.

